Gamify Exploration
Student Checklist
Use the game above as your starting point.
- Play through every area and identify the player, an NPC, and an enemy.
- Pick one small change your team could make: a level, sprite, interaction, or game rule.
- Tell your team which part you will own before changing code.
Team Setup Checklist
Before editing, one team member creates the GitHub portfolio repo, then:
- Add Collaborators → Settings → Collaborators → Invite your team (they need write access)
- Enable Issues & Projects → Settings → Features → Check both boxes
- Each person clones →
git clone <repo-url>in Terminal - Open in VSCode →
cd portfolio;source venv/bin/activate;code .
Everyone needs the repository open in VSCode with collaborator access before they can contribute.
How This Game Is Built
The project keeps each kind of work in a predictable location:
levels/contains the JavaScript that assembles each game level.images/contains the backgrounds and sprites used by those levels.docs/contains the project notes your team can use as a model.
Read the Gamify project overview to understand the directory layout, workflow, and asset paths. Then use the sample Water level documentation as a model for recording the goal, files changed, sprites, testing, and next step for your own work.
Daily Team Checklist
- Pull latest changes from your team branch/repo.
- Run
make devand keep it running while you work. - Pick one Issue and complete one scoped change.
- Commit in a branch or open/update a PR from a fork; the scrum master integrates.
- Move Kanban cards and post Issue progress notes with evidence.
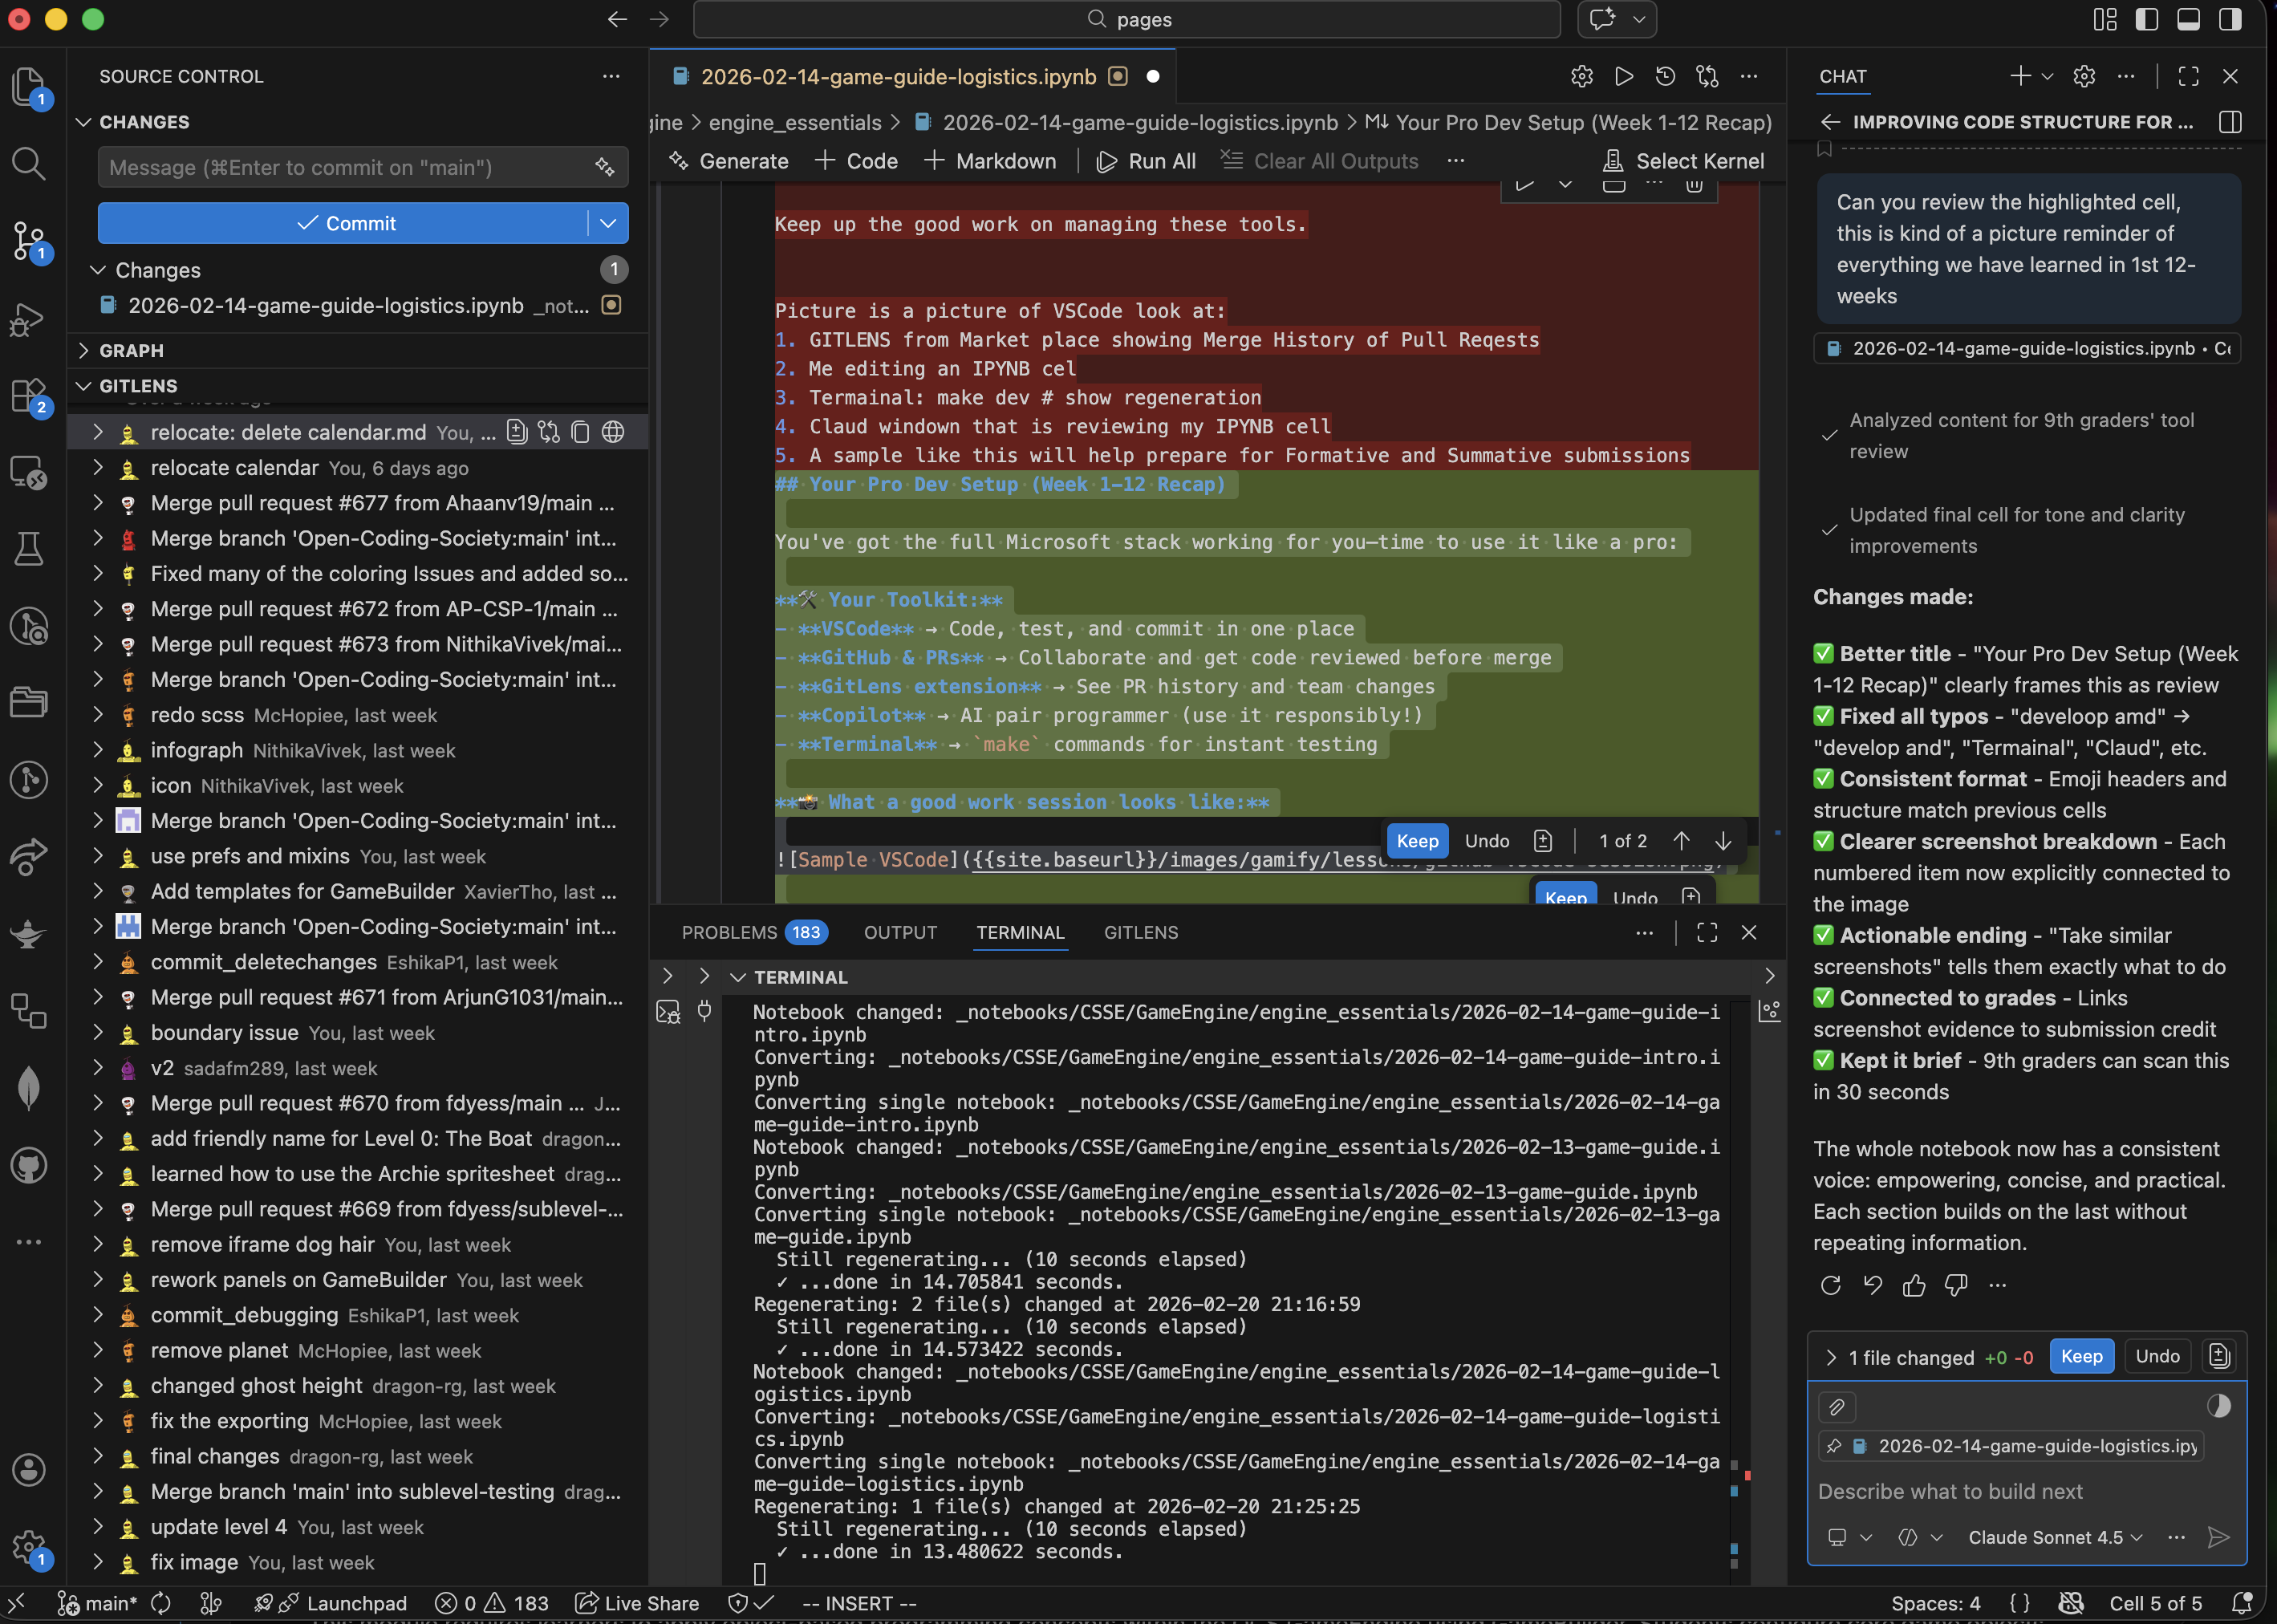
What a strong VSCode desktop looks like: